1 How to Block PowerShell via Group Policy Editor (gpedit)2 How to Disable PowerShell in Windows 10 via Security Policy3 How to Remove PowerShell 7 from Windows 10 by Uninstalling the App
What is Windows PowerShell? Windows PowerShell is a command-line tool that lets users run scripts, modify system settings and even perform basic operating system tasks such as creating folders and text files. Unfortunately, this means an uneducated user could also do a lot of damage with PowerShell. They could inadvertently run a malicious script, purposefully delete system files, or bypass other restrictions. For these reasons, many will be wondering how to remove PowerShell from Windows 10. Thankfully, Microsoft has created at least three ways to deactivate it. We’ll be covering each of them in detail below. If you also want to disable the Command Line (CMD) check our other tutorial.
How to Block PowerShell via Group Policy Editor (gpedit)
Don’t know your Windows version? Here’s how to check.
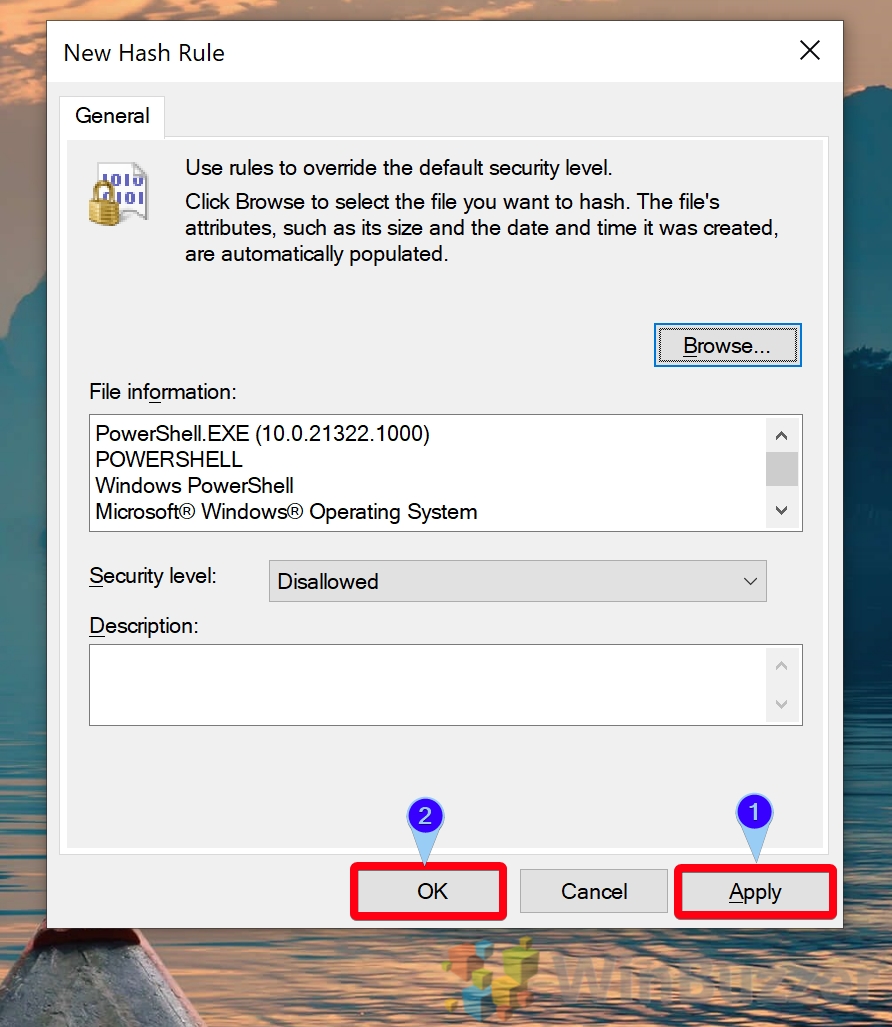
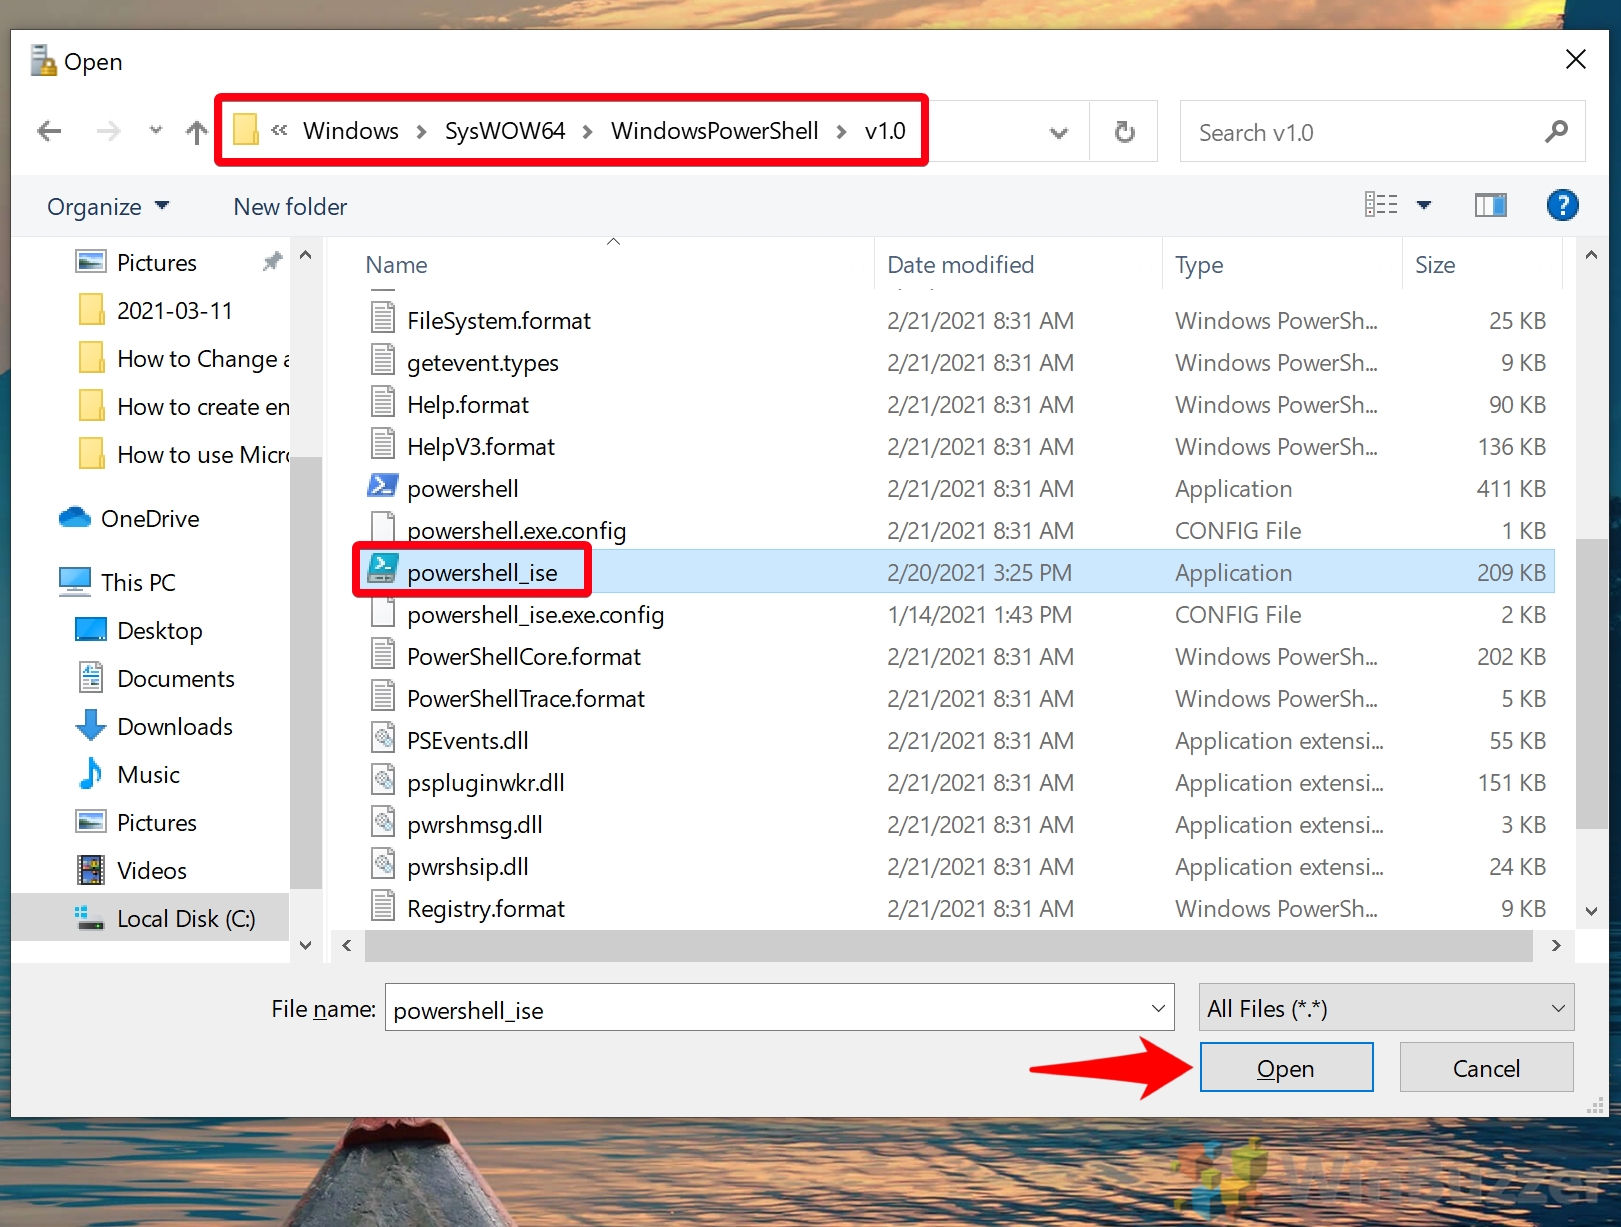
How to Disable PowerShell in Windows 10 via Security Policy
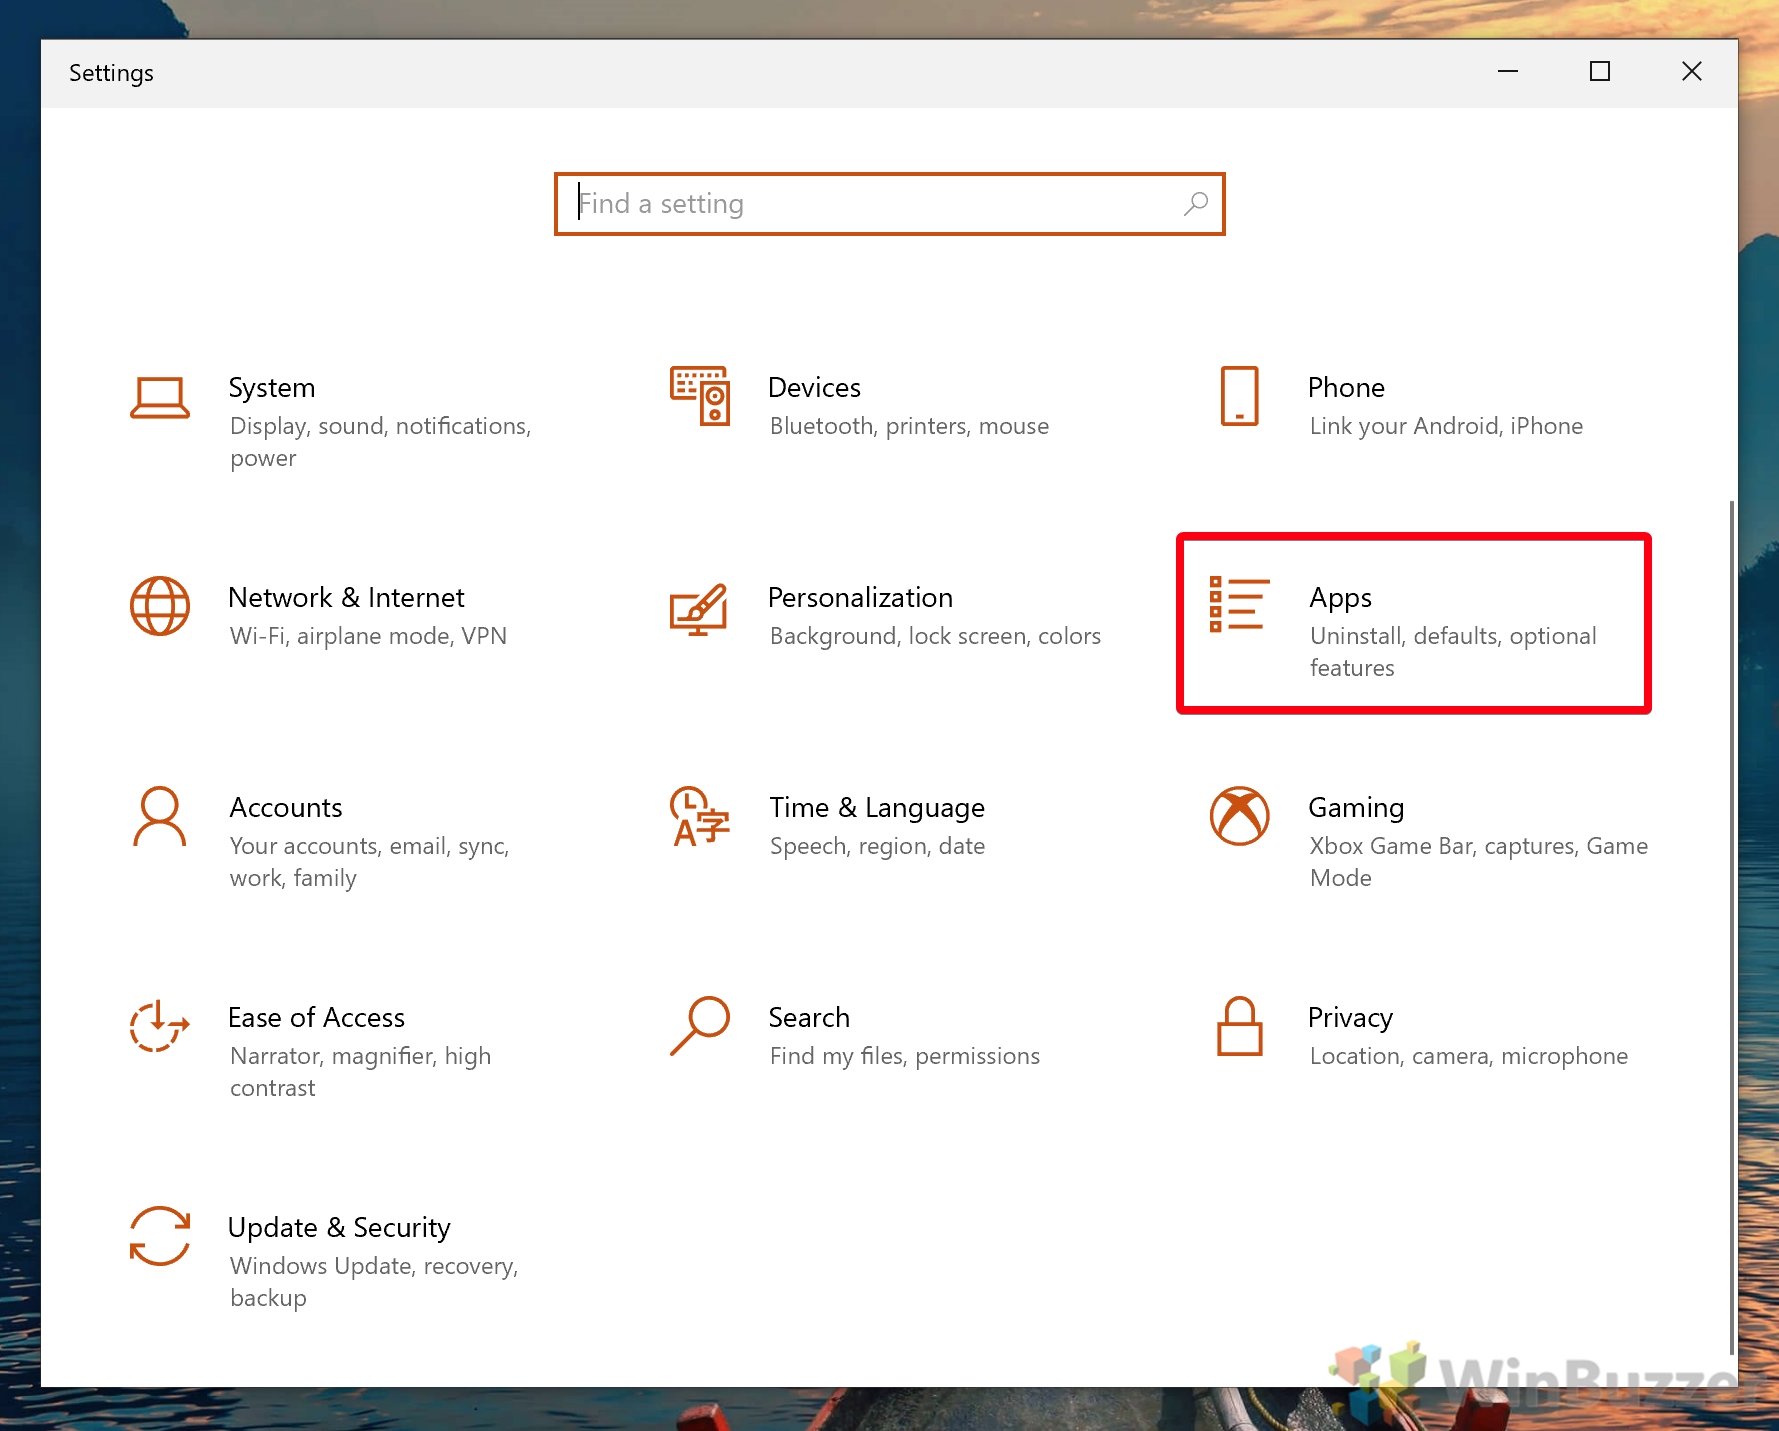
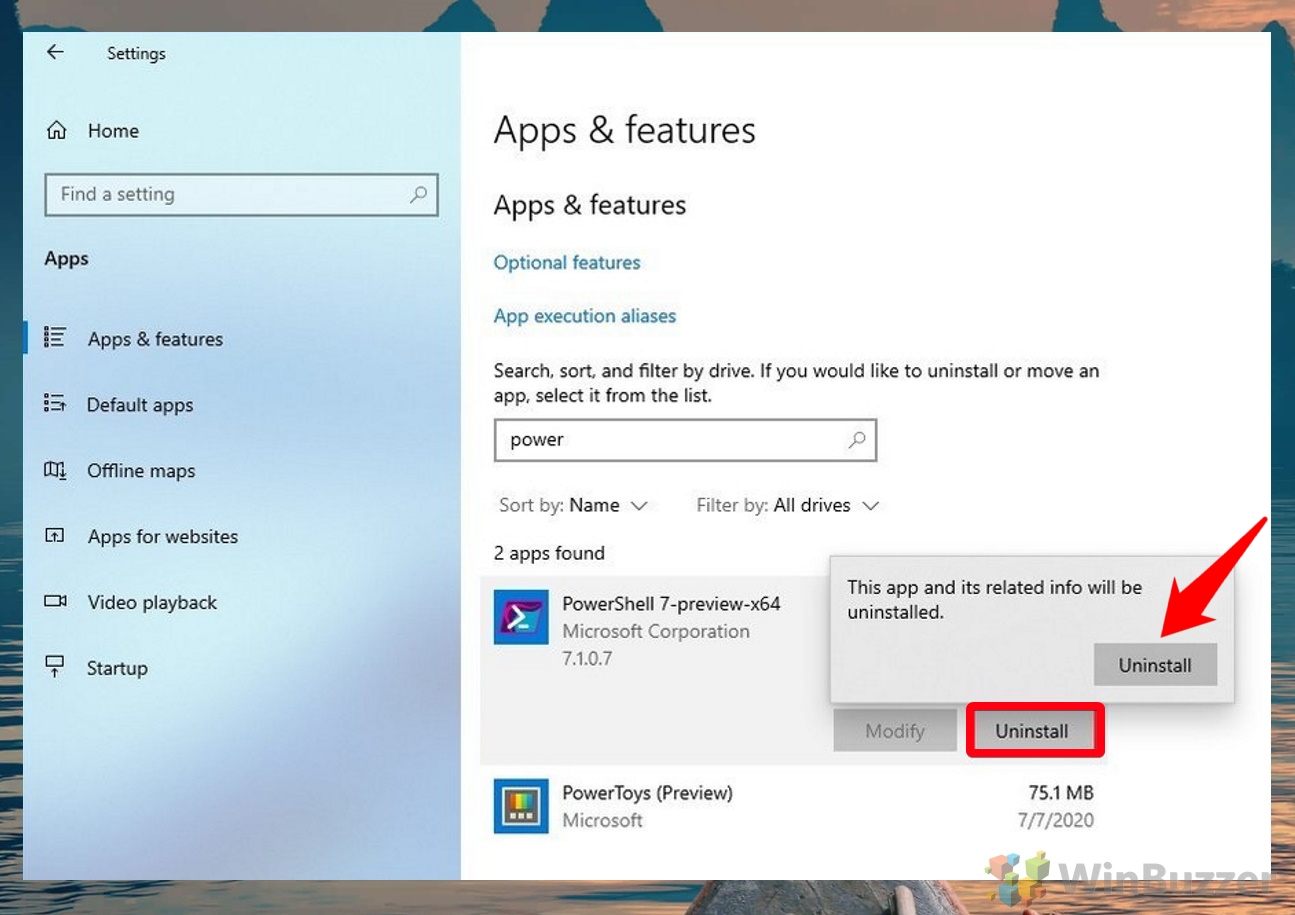
How to Remove PowerShell 7 from Windows 10 by Uninstalling the App
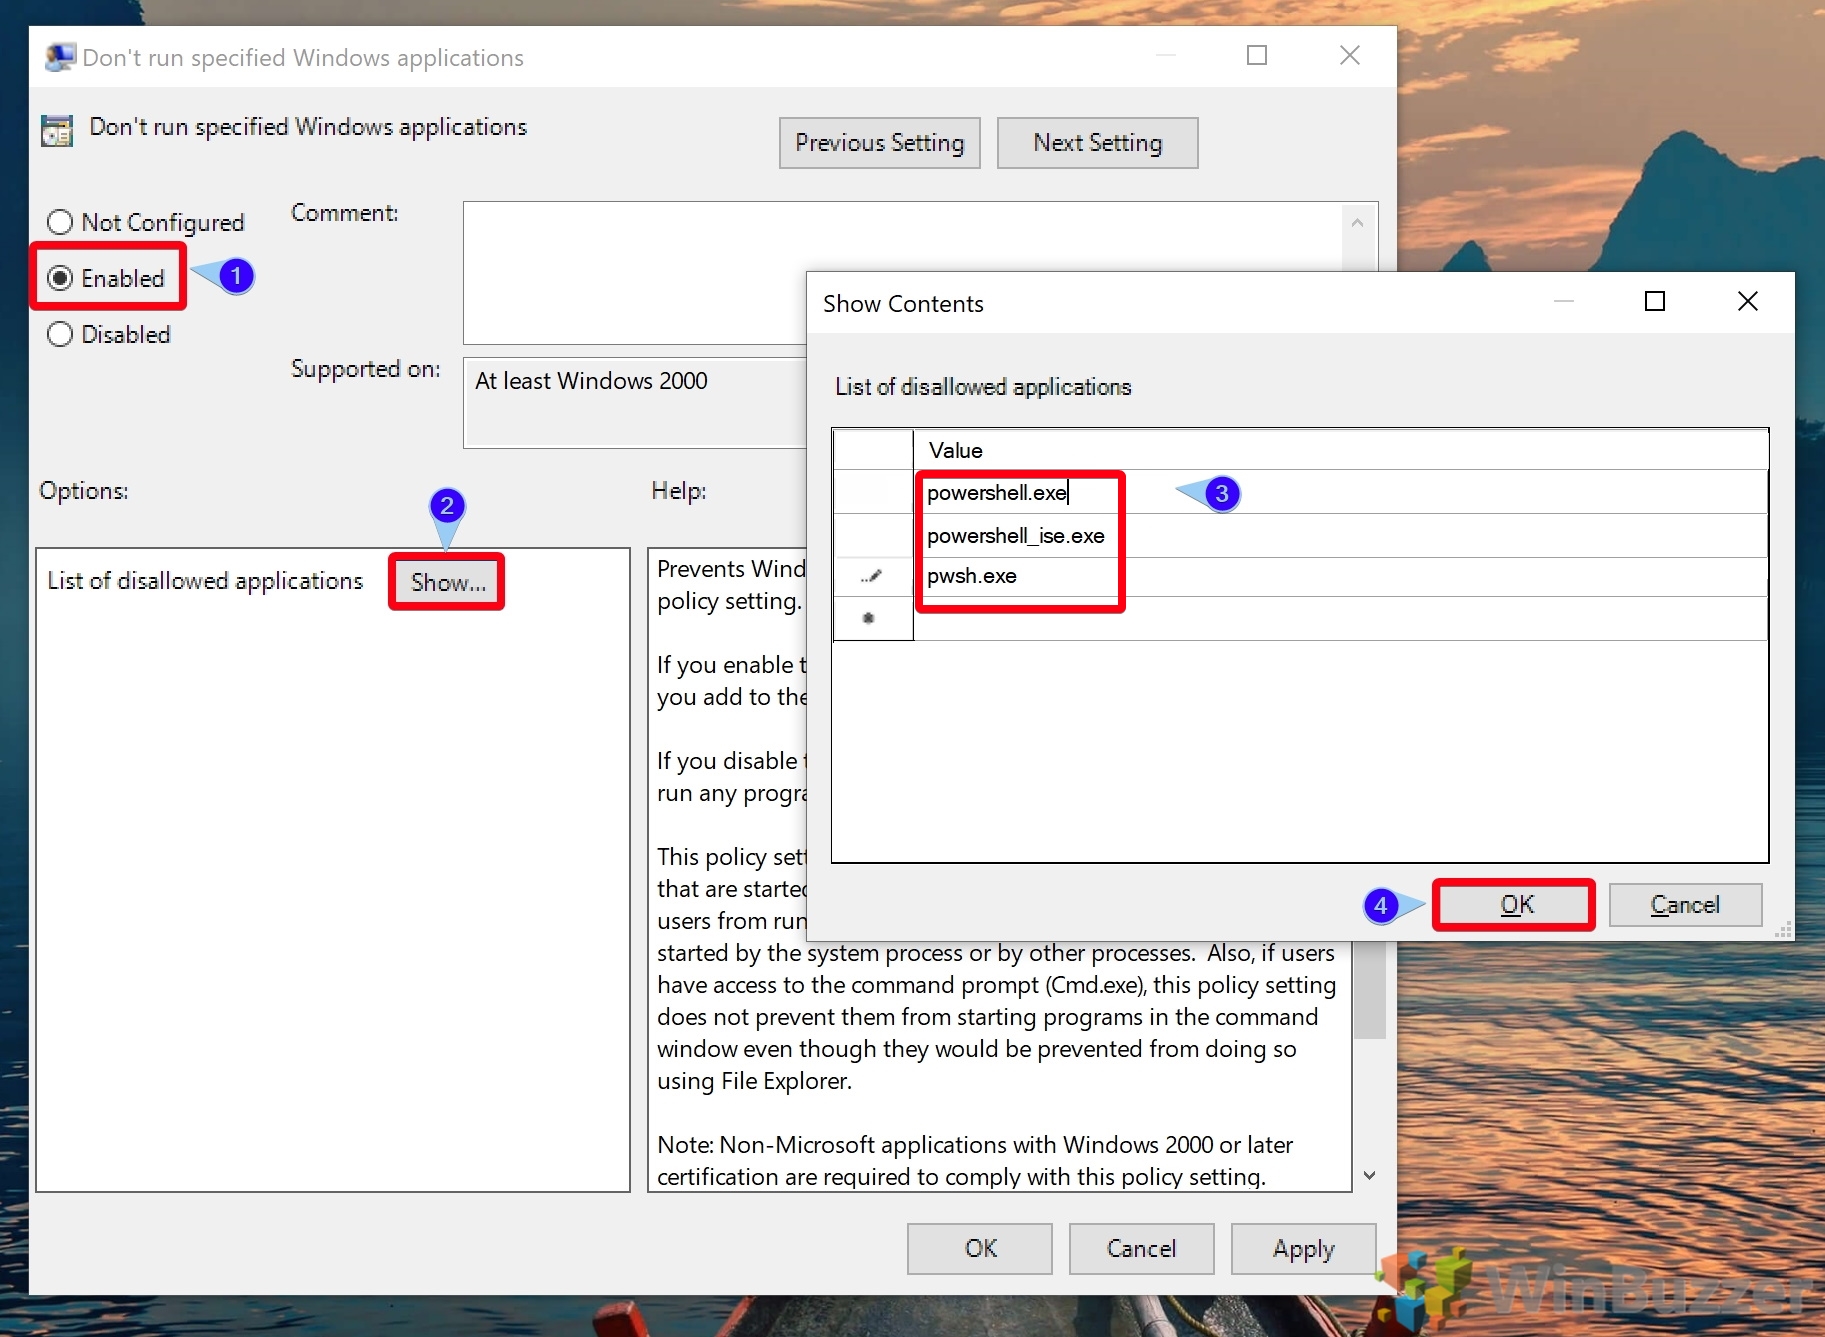
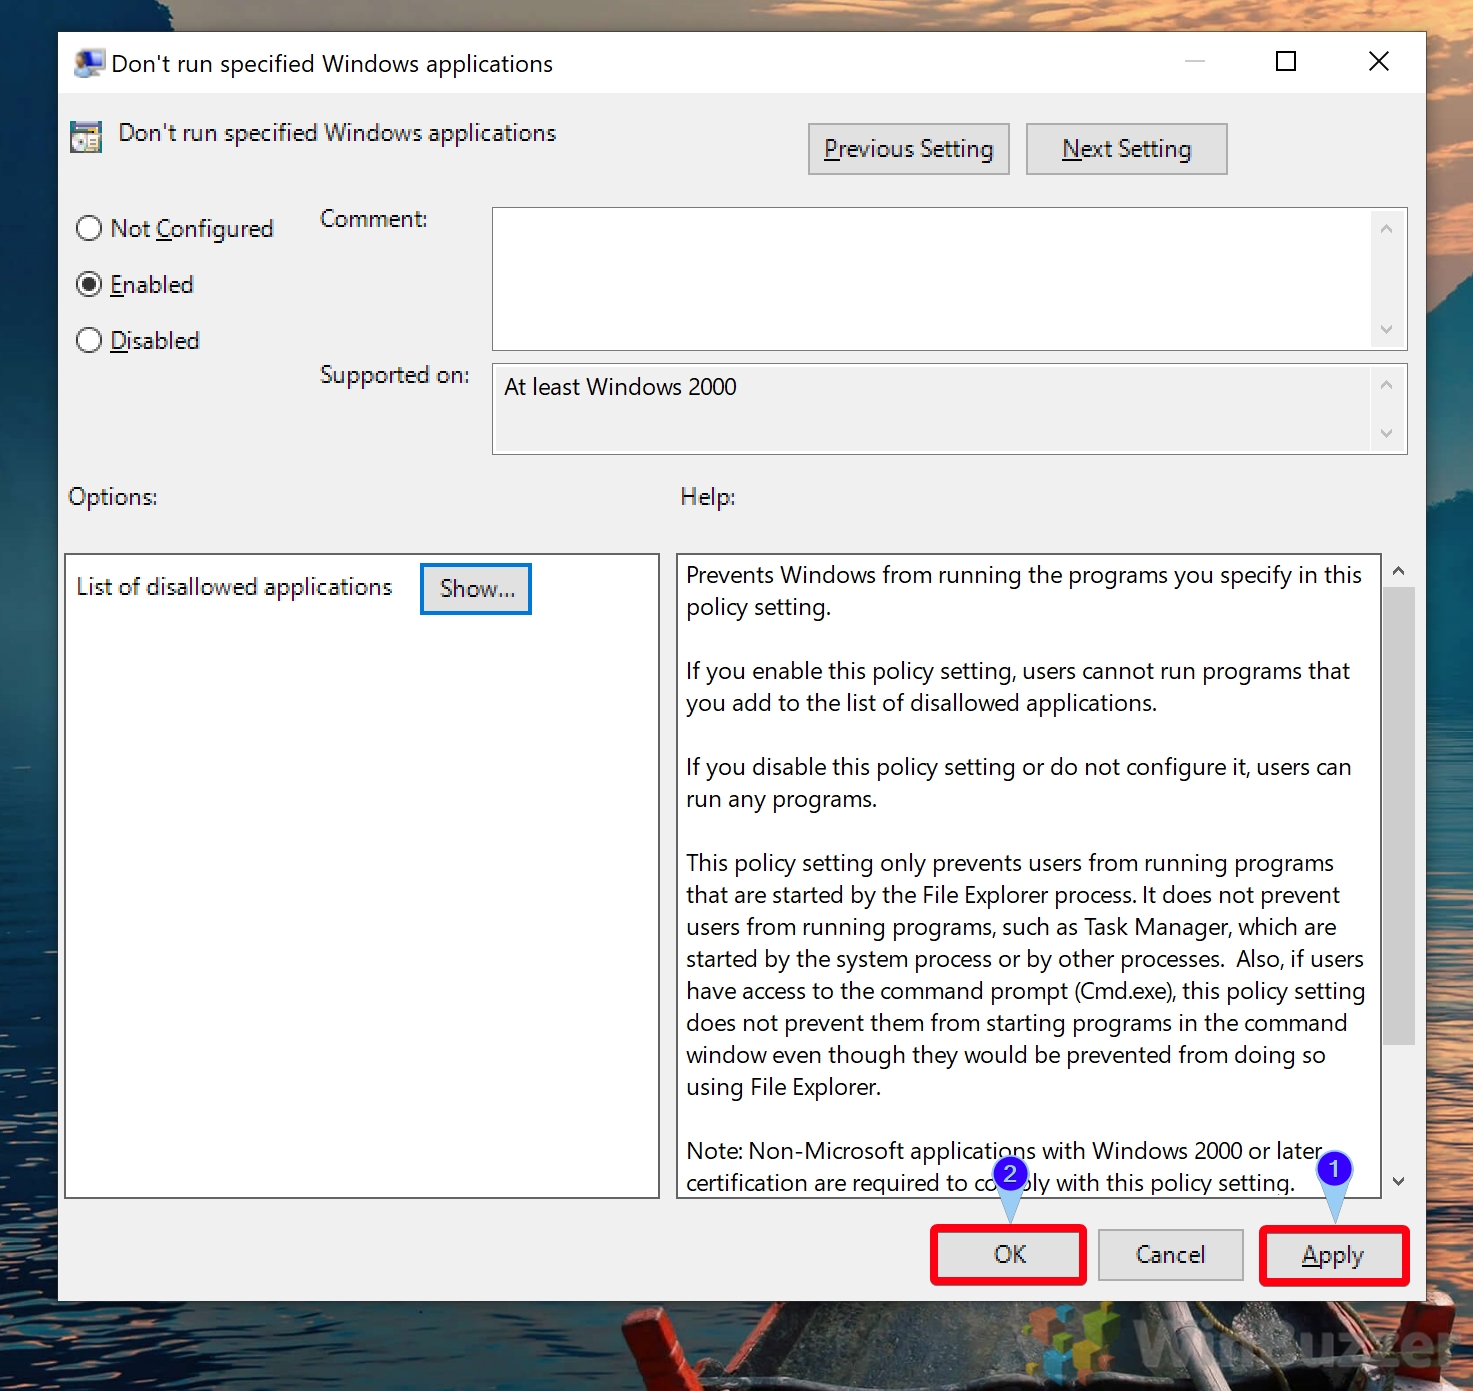
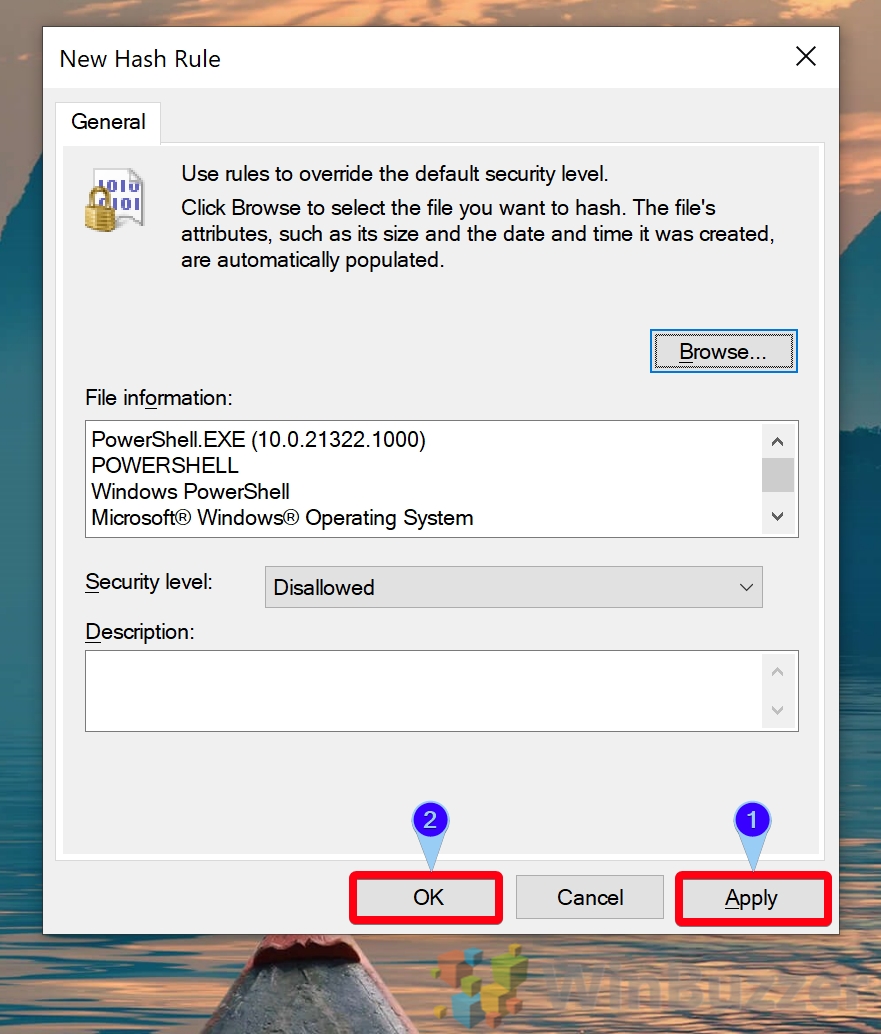
Once you’re done, press “OK”.
If you’re wondering how to enable PowerShell again, just change the policy from “Enabled” to “Disabled”.
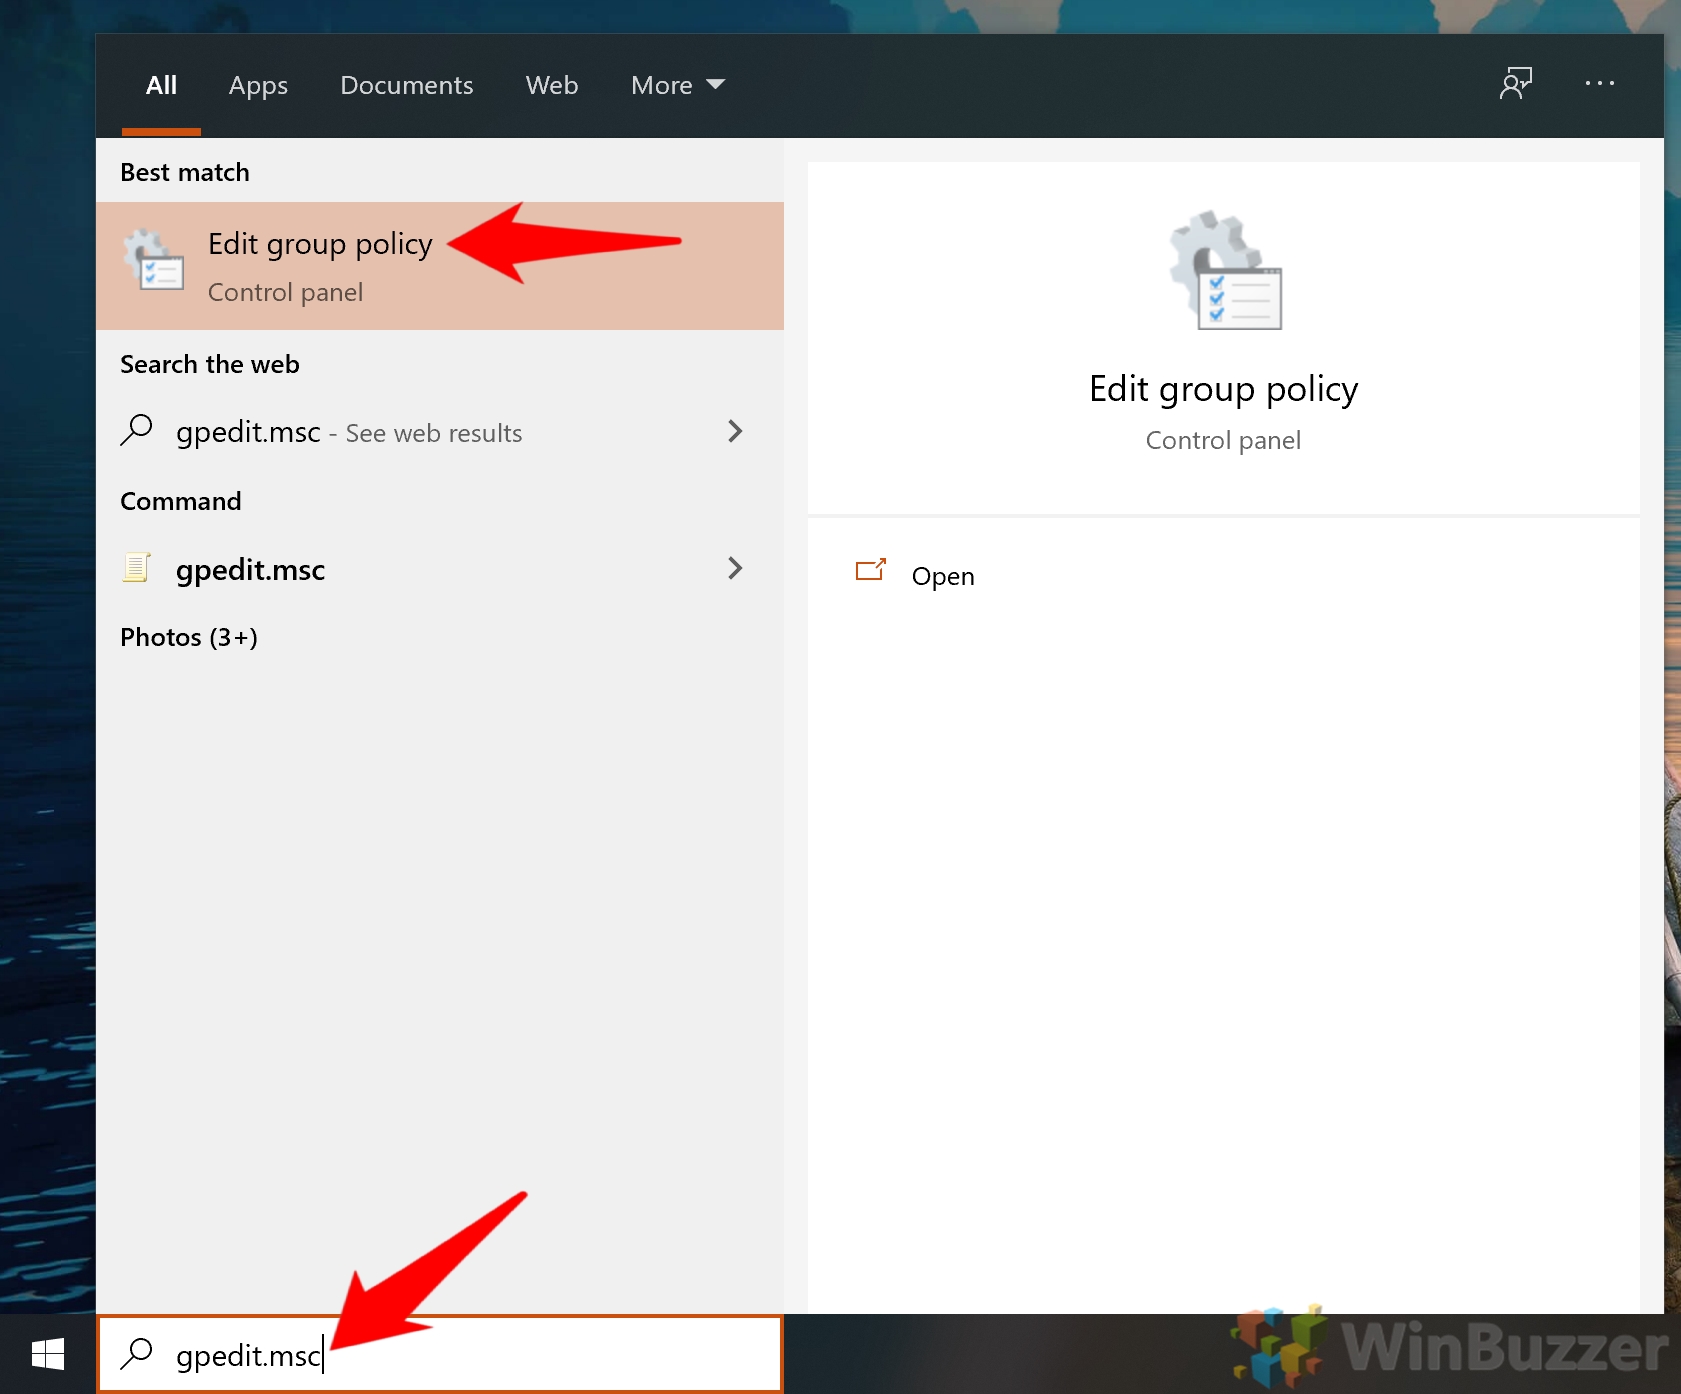
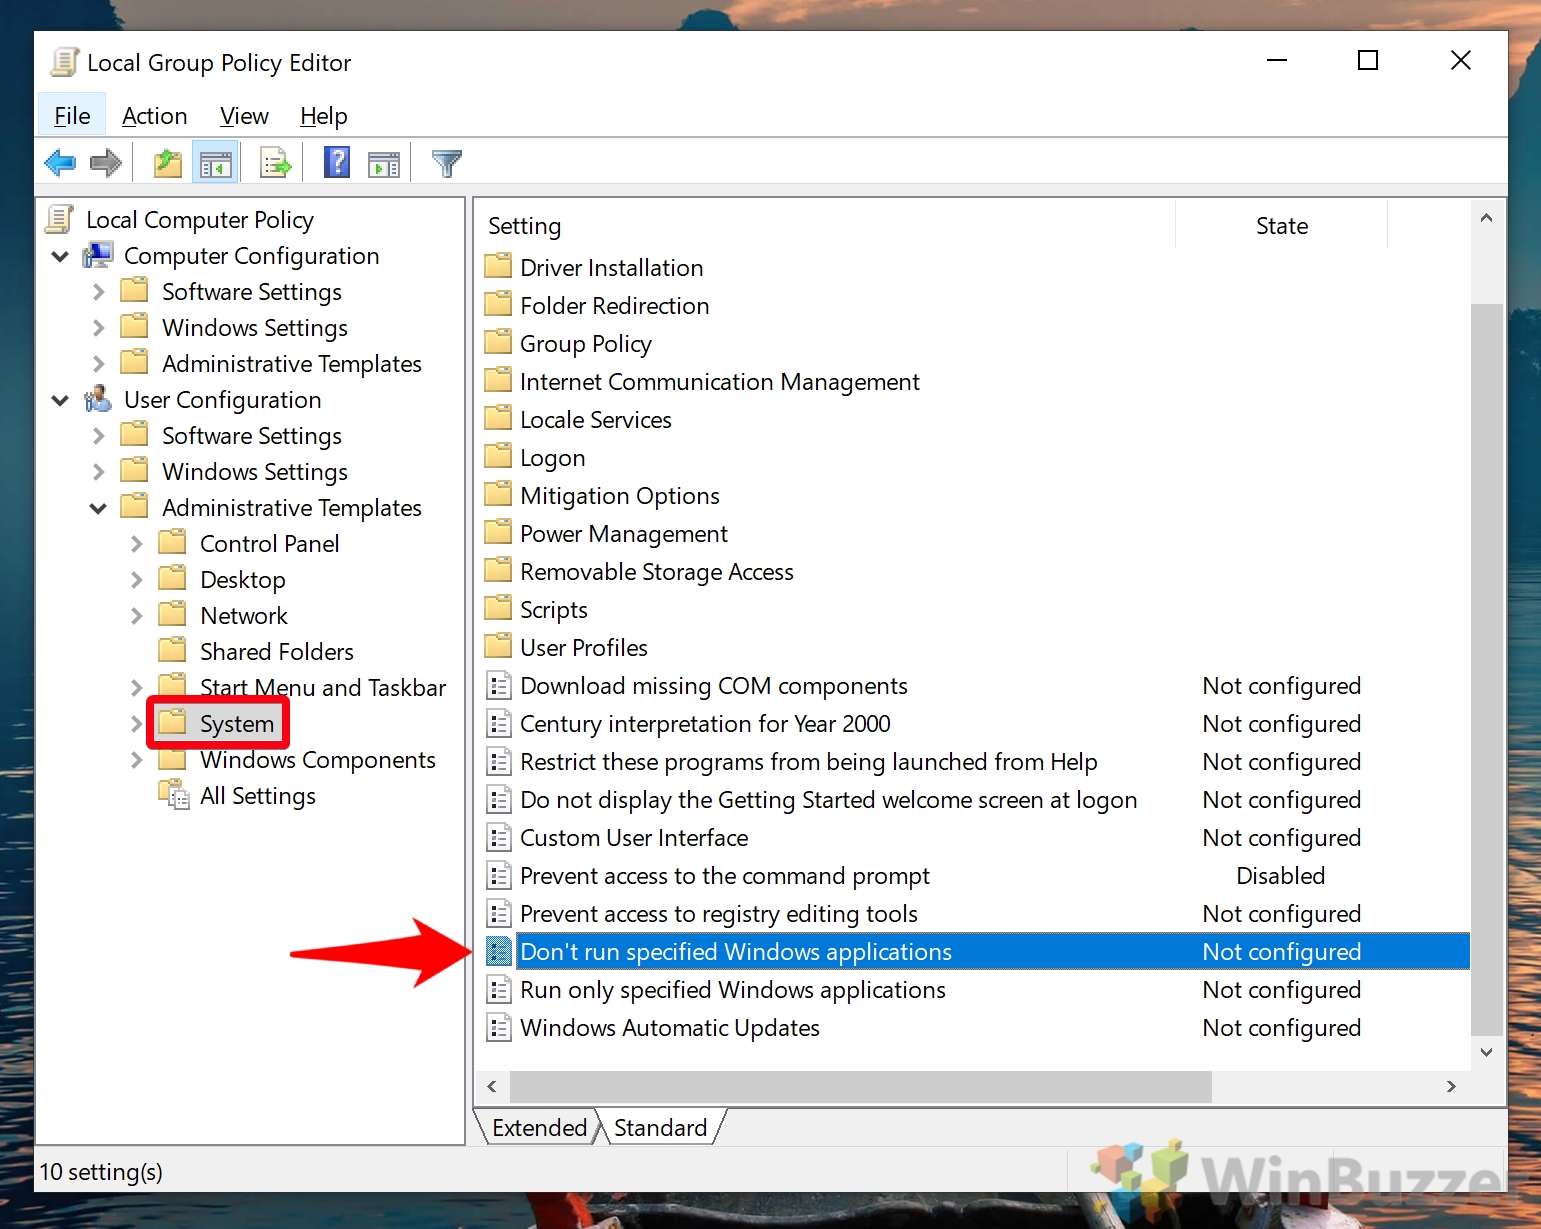
First, press Start, search for “Local Group Policy”, and click the top result to open it. Then you can follow the steps below:
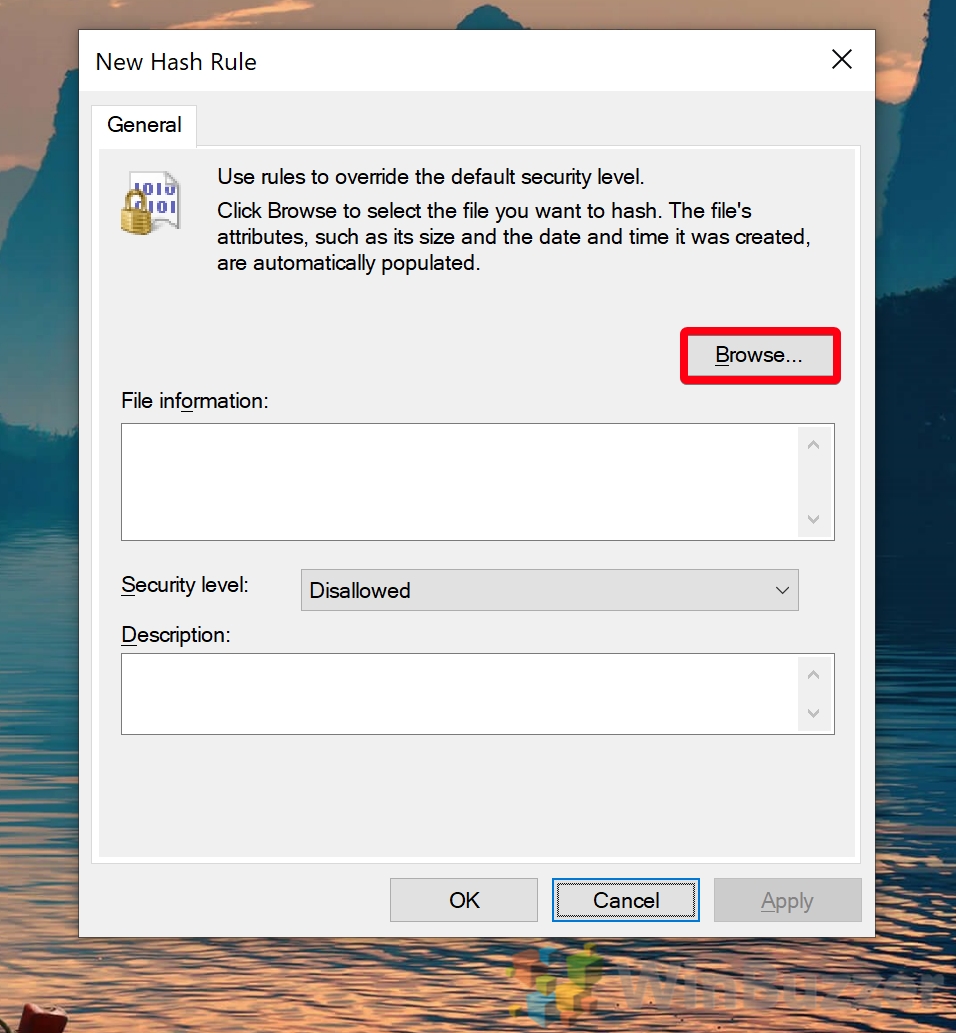
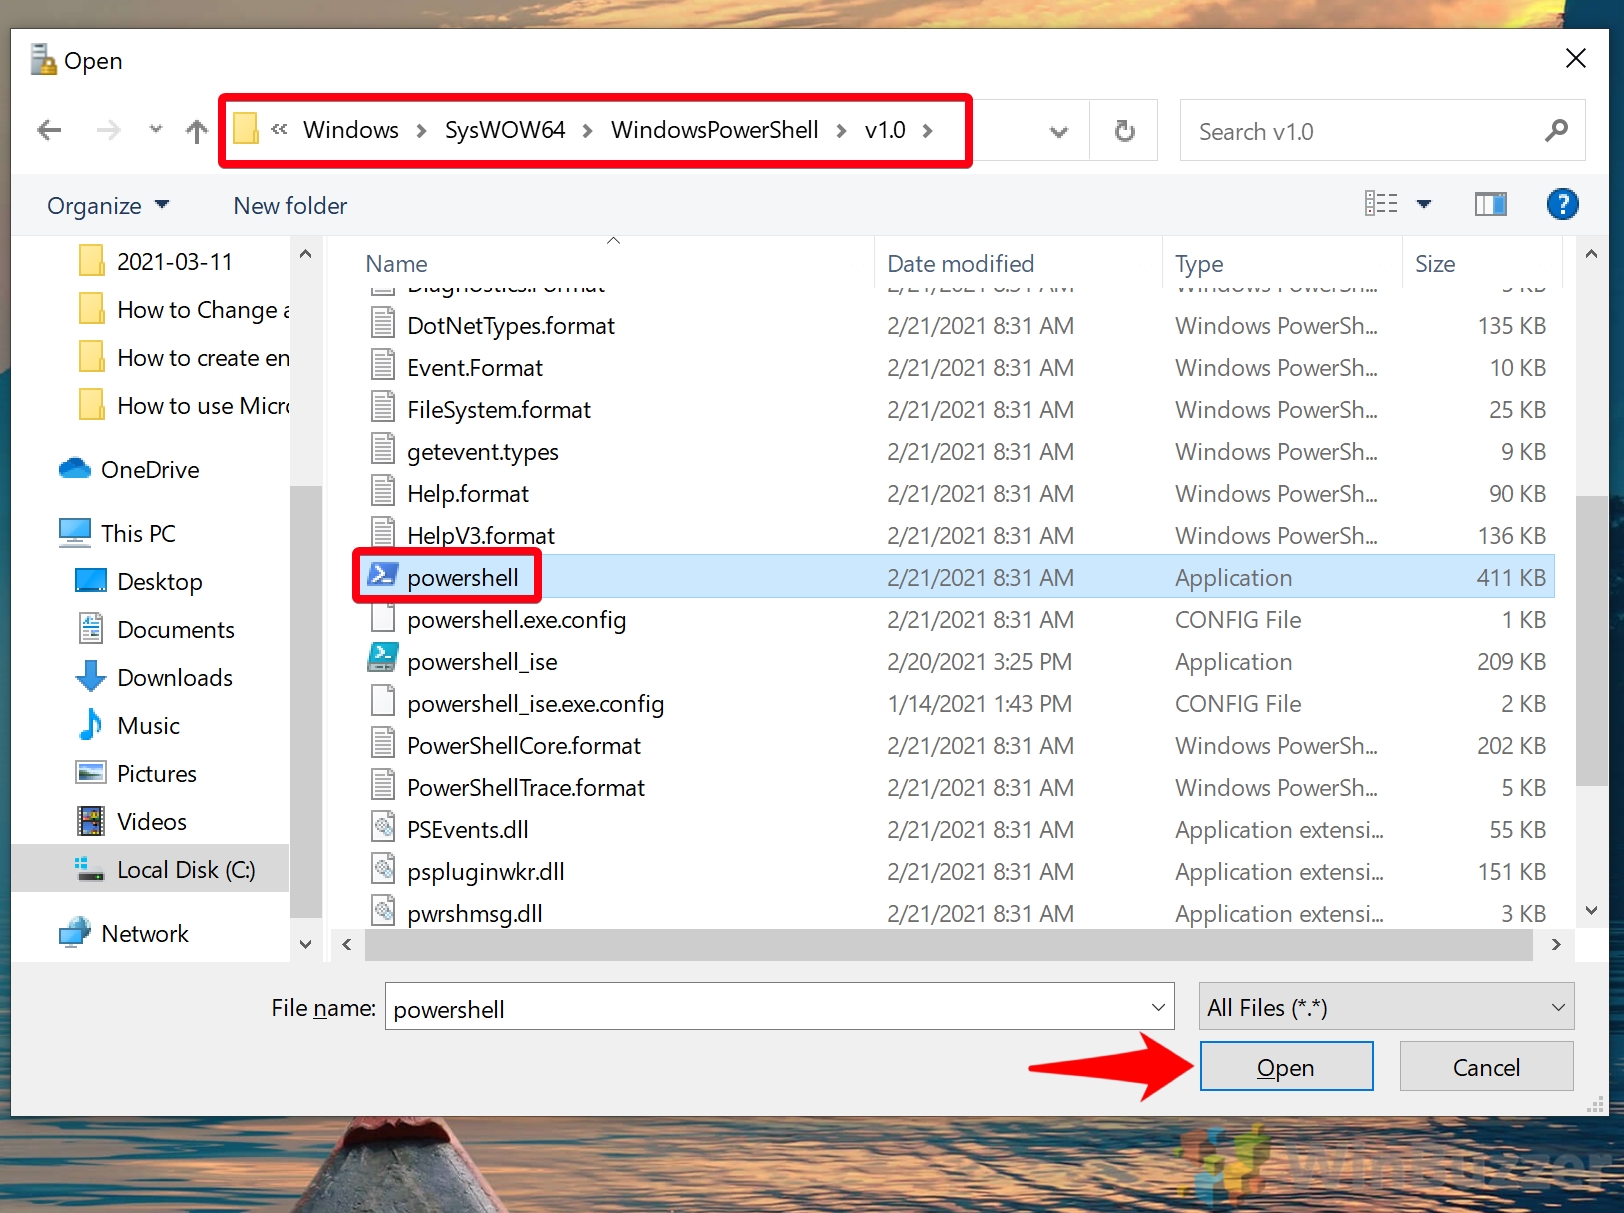
%SystemRoot%\SysWOW64\WindowsPowerShell\v1.0. Press “Open” to add it to your hash rule.
%SystemRoot%\system32\WindowsPowerShell\v1.0 Click “powershell_ise” in the folder and press “Open”.
With that, you should know how to disable all instances of PowerShell on your system. Though you’ll see that using a GPO PowerShell toggle is the easiest, it’s always good to have alternatives. Though PowerShell is now disabled, you shouldn’t forget about Command Prompt, as it has similar functionality. If you need to lock down your system further, you can also consider enabling kiosk mode, which limits users to certain apps.
