1 Installing NetSpeedMonitor on Windows 102 Using NetSpeedMonitor on Windows 10
We show you how to install the freeware network meter on Windows 10 and how to use it to measure your bandwidth. NetSpeedMonitor is a freeware tool that can be easily managed from the taskbar. Many users have been using it for years and it is part of their standard setup for every Windows installation. Unlike the somewhat confusing task manager, it monitors your upload and download speeds directly and without any detours, and you can also view long-term statistics. Even though NetSpeedMonitor hasn’t been updated since 2010 and initially refuses to install on Windows 10, the free network meter still works perfectly today and is the perfect way to show internet speed on your taskbar. But in fact NetSpeedMonitor has no compatibility problems with Windows 10. An error message displayed during installation only refers to the setup program, not to the NetSpeedMonitor bandwith monitor application which runs just fine on Windows 10. With our step by step instructions you can easily install NetSpeedMonitor on Windows 10 and then monitor your traffic with just a glimpse to the taskbar.
Installing NetSpeedMonitor on Windows 10
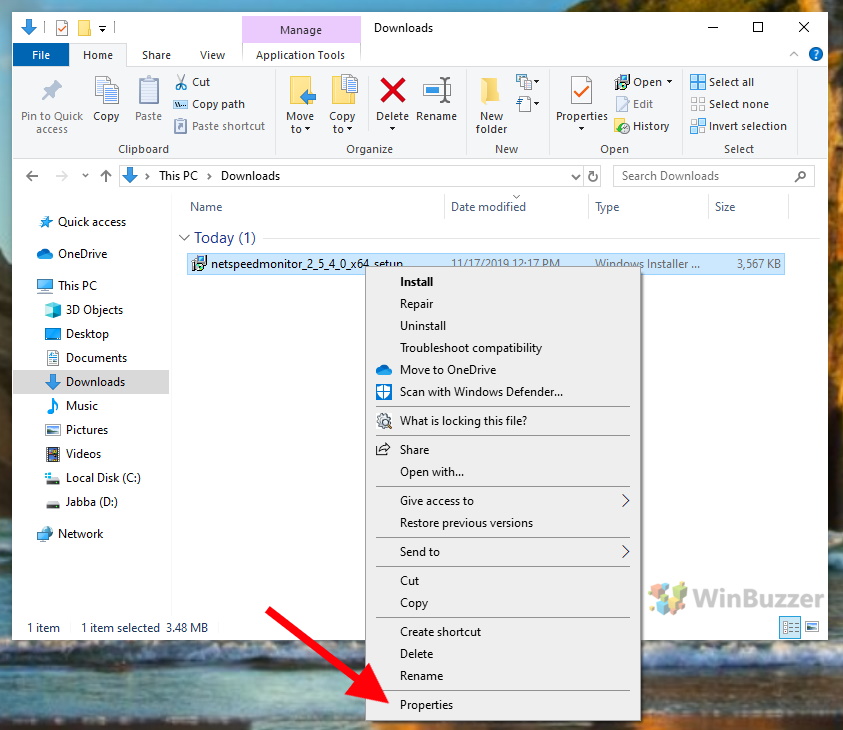
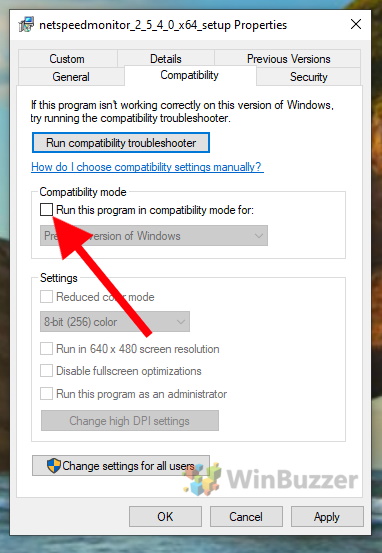
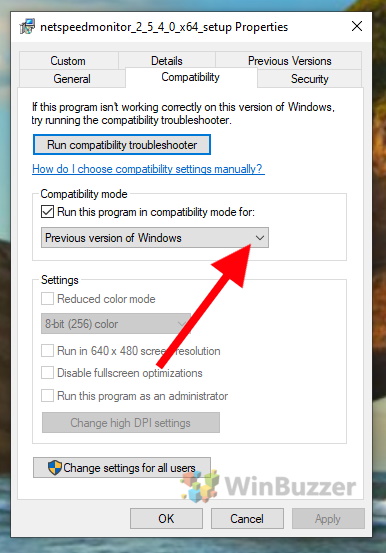
After downloading the NetSpeedMonitor installer, before running it you need to activate compatibility mode. Right-click on the file and choose “Properties”. There switch to “Compatibility” and check “Run this program in compatibility mode for”. Right below, select “Previous versions of Windows”.
Using NetSpeedMonitor on Windows 10
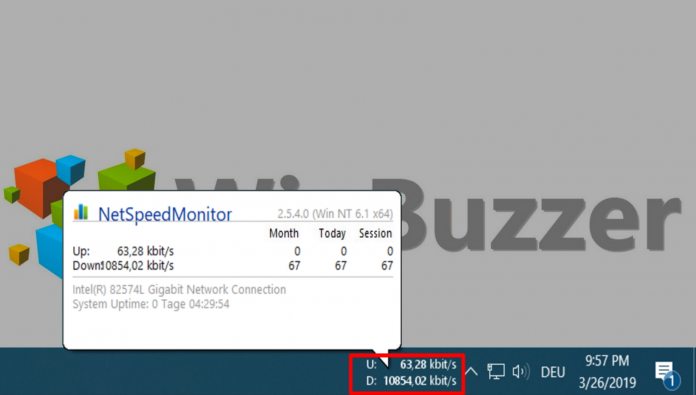
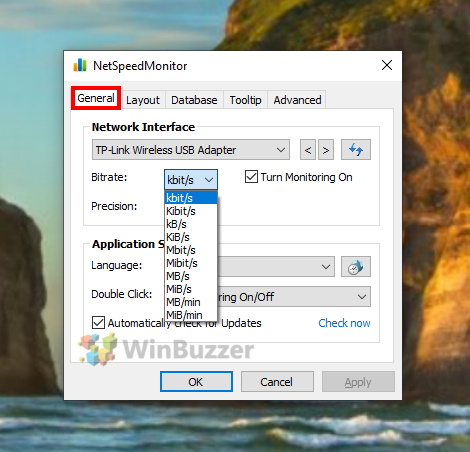
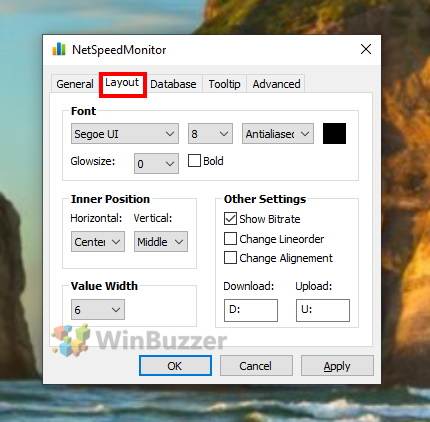
Once installed, NetSpeedMonitor will show you your current traffic in kbit/s in the taskbar. The number behind “U:” stands for your upload rate, behind “D:” your download speed is shown. When you move the mouse over it, you will also see the values for your current computer session since startup and for the past month and week. A right click on the task bar traffic monitor and choosing “Configuration” will take you to the NetSpeedMonitor preferences. “General” lets you select which network adapter to monitor and the bandwith format you want to display on your task bar traffic meter. The other tabs let you change some more settings, like for example at “Layout”you can change the font style you wan NetSpeedMonitor to use for the traffic monitor. Right clicking the task bar monitor gives you some more useful options like “Data traffic” which will show you some detailed statistics for selected days of the past.